Convert a 4-Wire LS Harness for Your Vehicle
Identify each lead, make safe connections, and test your LS harness before startup.
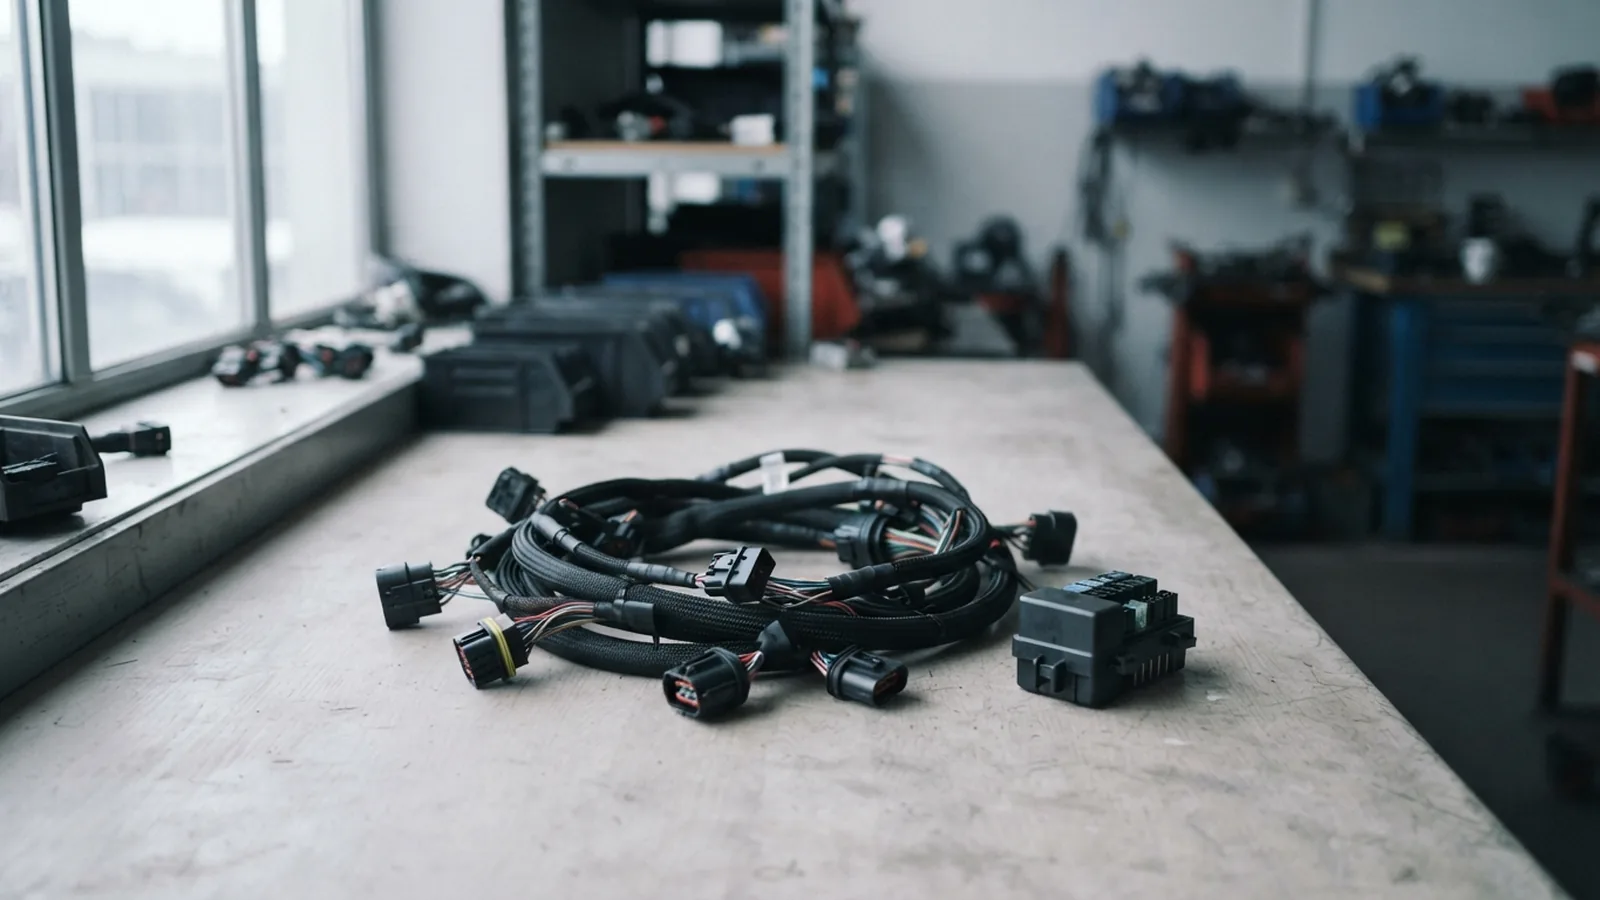
What a 4-wire LS harness does
A 4-wire LS wiring harness conversion connects a standalone engine harness to the vehicle’s electrical system through a small set of key leads. In many setups, these are battery power, switched ignition power, ground, and a fuel-pump relay signal. The exact functions vary by harness maker, so check its pinout before cutting or joining wires.
An LS engine does not use one universal four-wire plug. The phrase usually describes the vehicle-side connections for a standalone harness, not every wire needed by the engine. The engine still needs its ECU, sensors, injectors, coils, and sound connections within the engine harness.
Many LS1 and LS6 swaps use this type of setup. Some LS2, LS3, and truck-based LS engines can use it too, if the ECU and harness are built for that engine. Check the ECU part number, engine year, and harness maker’s fit notes before you begin.
Four wires can simplify the final link. They do not make the whole swap plug-and-play.
- Battery power: Supplies steady power to the ECU or harness fuse box.
- Ignition power: Turns the engine controls on with the key.
- Ground: Gives current a sound return path to the battery and engine.
- Fuel-pump signal: Often controls a relay, rather than powering the pump itself.
Some harnesses assign the fourth lead to a different task, such as a starter request or warning output. Never rely on wire color alone. Labels and colors can differ between makers.
Parts and tools to gather first
Start with the harness maker’s wiring sheet, the correct ECU, and a sound engine ground. You may also need a fuse block, relays, sealed connectors, heat-shrink tubing, and wire sized for each circuit. Use a relay for a fuel pump unless the harness instructions clearly state otherwise.
Gather a digital multimeter, wire stripper, crimp tool, terminal picks, and a heat gun. A test light can help check basic power, but use a meter for ECU feeds and sensor circuits. Keep a wiring diagram for both the LS harness and the vehicle beside you.
Do not choose wire size by guesswork. Match the harness maker’s spec and the load on each circuit. Keep the ECU’s power and ground wires separate from high-current starter and pump paths where the design calls for it.
Plan each joint before you cut.
- Use a fuse close to the battery feed, with the rating listed by the harness maker.
- Use sealed crimps or soldered joints with heat-shrink made for vehicle use.
- Have loom, clamps, and grommets ready to guard wires from heat and sharp edges.
Convert the wiring step by step
First, identify the harness type and read its pinout. Note which wires need constant power, key-on power, ground, and relay control. Mark each lead with a temporary tag before you remove any factory wiring.
Next, disconnect the battery’s negative terminal. Place the ECU and fuse box away from exhaust heat, water, and moving parts. Route the harness through a grommet, and leave enough slack for engine movement without letting wires rub.
Connect the main power lead to a fused battery source. Connect switched power to a key-on circuit that stays live during both cranking and engine run. Some older vehicles drop certain circuits while cranking, so test the chosen source with a meter first.
Then make the ground connections. Attach the engine ground strap from clean metal on the engine to the chassis or battery ground point. Follow the harness instructions for ECU grounds, and avoid relying on painted or rusty metal.
Wire the fuel-pump lead to the correct relay input. The ECU output often switches the relay coil; it should not carry the pump’s full current. Connect the pump through a fused relay circuit sized for the pump and its wire run.
Connect any remaining lead by its documented purpose. If the fourth wire is a tach or starter signal, follow the harness sheet and vehicle diagram. Do not tie unknown wires together to see what happens.
Before reconnecting the battery, check every splice and fuse. Confirm that no bare copper can touch the chassis, and check that power and ground have not been crossed. Secure the harness away from the exhaust, driveshaft, belts, and steering parts.
Take your time at each joint.
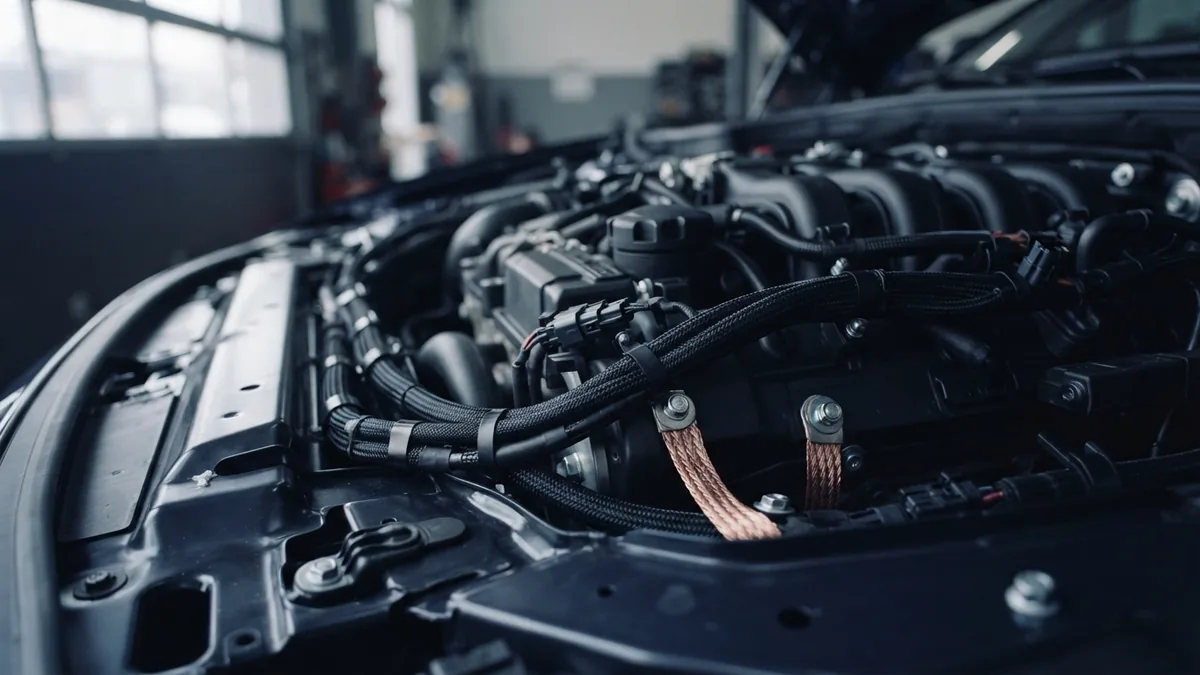
Common faults and how to find them
A no-start often comes from missing key-on power, a weak ground, or a fuse that has opened. Check battery voltage first, then test the ECU feed while the key is on and during cranking. If voltage drops sharply, inspect the source circuit, battery, and grounds.
If the engine cranks but the fuel pump stays off, check the relay, its fuse, and the ECU’s pump-control signal. Listen for a brief pump run when the key turns on, if the system is designed to prime then. Test the relay with the wiring diagram, not by swapping random wires.
Intermittent faults often point to loose crimps, poor ground contact, or wires chafing on metal. Check for heat damage near the headers and for water at connectors. Repair the cause, then secure the loom with clamps and suitable sleeves.
A blown fuse can mean a short, a wrong fuse size, or an overloaded circuit. Do not fit a larger fuse to stop it blowing. Find the fault and use the specified fuse rating.
Use a meter to trace faults one section at a time. That beats replacing good parts.
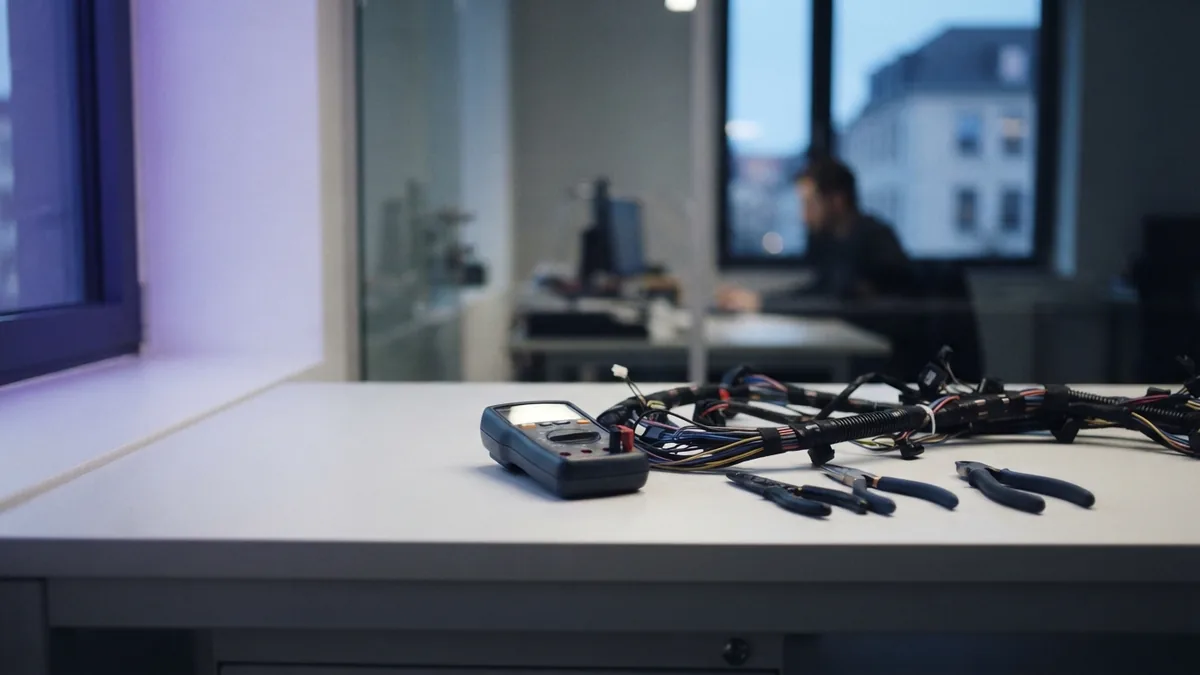
Work safely around vehicle wiring
Disconnect the battery before cutting, crimping, or moving wires. Keep the key out of the ignition, and let hot engine parts cool before routing the harness. If the vehicle has an alarm or another stored-power system, follow its shutdown steps first.
Protect your eyes when cutting or drilling, and keep loose clothing away from belts and fans. Use a stable jack stand if you need to work beneath the vehicle. Never rely on a hydraulic jack alone.
Do not probe ECU pins with a test light unless the harness maker approves it. A test light can draw too much current for delicate circuits. Use a high-impedance digital meter for those checks, and avoid piercing insulation where water can enter.
Keep fuel and sparks apart. If you need to work near an open fuel line, remove ignition sources and follow the vehicle’s service steps.
Test the harness before the first drive
Check the harness in stages before starting the engine. With the battery disconnected, inspect the routing, grounds, fuses, and connector locks. Use a meter to check for shorts between the main power lead and ground.
Reconnect the battery and confirm the ECU powers up with the key. Check that the fuel-pump relay behaves as the harness sheet describes. If the ECU supports scan data, confirm that it sees key engine sensors before cranking.
Crank the engine only after checking fuel lines, oil, and coolant. Watch for leaks, smoke, hot wires, or a fuse that opens. Shut down at once if you spot any of these signs.
After a brief run, check the harness again for heat, rubbing, or loose joints. Confirm that the alternator charges as designed, and verify starter wiring separately. A short road test should come only after the engine starts, idles, and passes these checks.
For an LS engine swap, save the pinout and label any changes for later service. If the harness maker’s diagram conflicts with a vehicle diagram, stop and confirm the exact harness version. Correct records make later wiring harness troubleshooting far easier.
Step-by-step
- 01 Read the harness pinout
Identify the purpose of every vehicle-side wire. Match its role to the exact harness and ECU version.
- 02 Disconnect the battery and plan the route
Remove the negative battery terminal. Place the ECU and loom away from heat, water, and moving parts.
- 03 Connect power and ignition feeds
Use a fused battery feed and a key-on source that stays live during cranking. Check the source with a meter.
- 04 Make sound ground connections
Attach the engine ground strap to clean metal. Follow the harness instructions for ECU grounds.
- 05 Wire the relay and other leads
Connect the fuel-pump control lead to its relay input. Wire any other lead by its documented purpose.
- 06 Inspect and test before startup
Check joints, fuses, grounds, and routing before reconnecting the battery. Confirm ECU power and relay action before cranking.
Frequently asked questions
- What are the four wires on an LS wiring harness?
- They often carry battery power, switched ignition power, ground, and a fuel-pump relay signal. The exact roles vary, so check the harness pinout.
- Which LS engines can use a four-wire harness?
- LS1 and LS6 swaps often use standalone harnesses with four vehicle-side leads. Some LS2, LS3, and truck LS setups can use them when the ECU and harness match.
- Can I connect the fuel pump directly to the harness wire?
- Usually, no. The harness lead often controls a relay, while the pump gets power through a fused relay circuit.
- Why does my LS engine crank but not start after wiring?
- Check ECU power during cranking, engine grounds, the fuel-pump relay, and the harness pinout. A missing key-on feed or poor ground can stop the engine from running.
- What tools do I need to convert an LS harness?
- Use a digital multimeter, wire stripper, crimp tool, heat gun, and the harness wiring sheet. Sealed connectors, heat-shrink, loom, and clamps help make durable joints.
- How should I test an LS harness before driving?
- Check for shorts with the battery disconnected, then confirm ECU power and relay action. Before driving, inspect for leaks, hot wires, loose joints, and safe wire routing.
Related reading

Business Taxonomy (How to Organize Products and Data)
Build clear categories that help teams find, manage, and understand business information.

Start a Shisa Nyama Business (From Plan to Opening)
Plan your market, permits, grill setup, suppliers, and cash flow before opening.

Start an Ukay-Ukay Business in the Philippines (Step by Step)
Plan your market, legal setup, stock, shop, and sales before opening.