Build a Worm Farm Business (From Setup to Sales)
Set up a worm farm, care for healthy stock, and turn castings into sales.
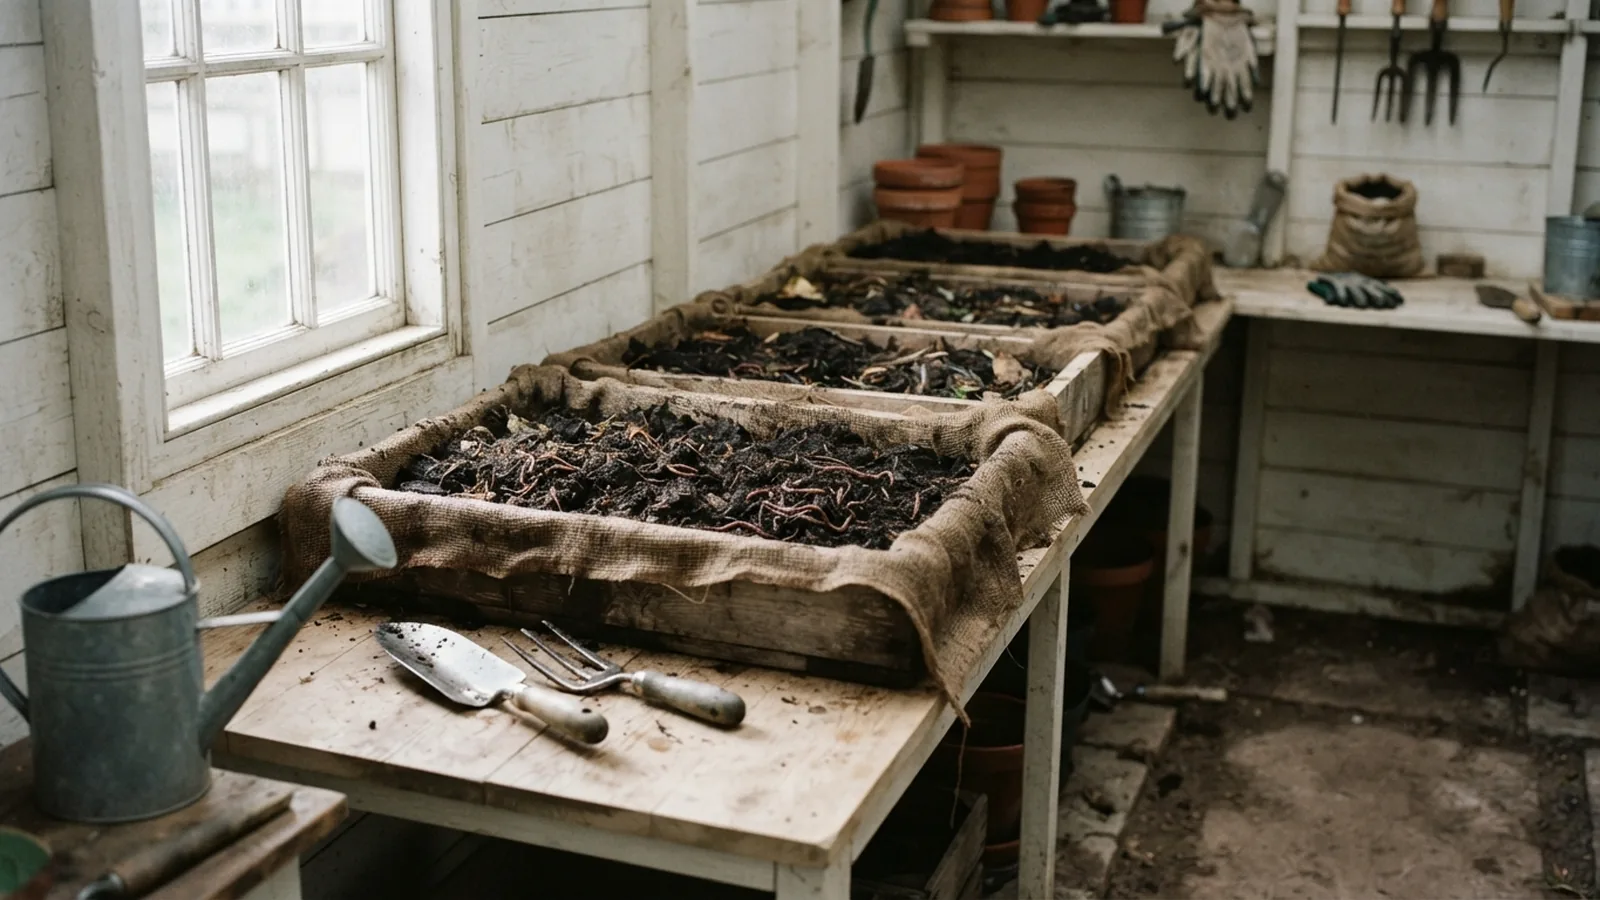
What worm farming means for a small business
To start a worm farm business, build a steady supply of composting worms, castings, or finished compost, then find buyers before scaling up. Worm farming, also called vermiculture, raises worms in managed beds or bins. Vermicomposting uses those worms to break down organic scraps into castings, a fine soil amendment.
This can work as a home-scale business, but it is not quick passive income. Worms need steady care, and finished products take time to build up. Start with a small pilot, track costs, and test local demand before buying more stock.
Think of the operation as three linked products: live worms, worm castings, and blended compost. Each has different buyers, packing needs, and sales rates. A clear focus helps you avoid producing more than you can store or sell.
Why a worm farm can make sense
Worm farms can turn some food and garden scraps into useful soil products. Diverting suitable scraps from the bin can cut the amount sent to landfill. Castings also help gardeners add organic matter to their soil.
The business has several possible revenue streams. Sell live worms to anglers, gardeners, schools, or other growers. Sell screened castings to home gardeners and nurseries. Sell finished compost blends to landscapers or local farm stands.
Small batches let you test demand without a large site or heavy machines. A spare shed, garage, or shaded outdoor area may be enough to begin. Yet income depends on local demand, product quality, labor, and delivery costs.
- Worm sales: Offer starter colonies or set quantities by weight.
- Casting sales: Sell screened, cured castings in practical bag sizes.
- Compost sales: Offer finished blends suited to garden beds or pots.
Do not count every sale as profit. Bags, labels, screening, transport, rent, and your work time all affect the margin. Keep simple records for each product.
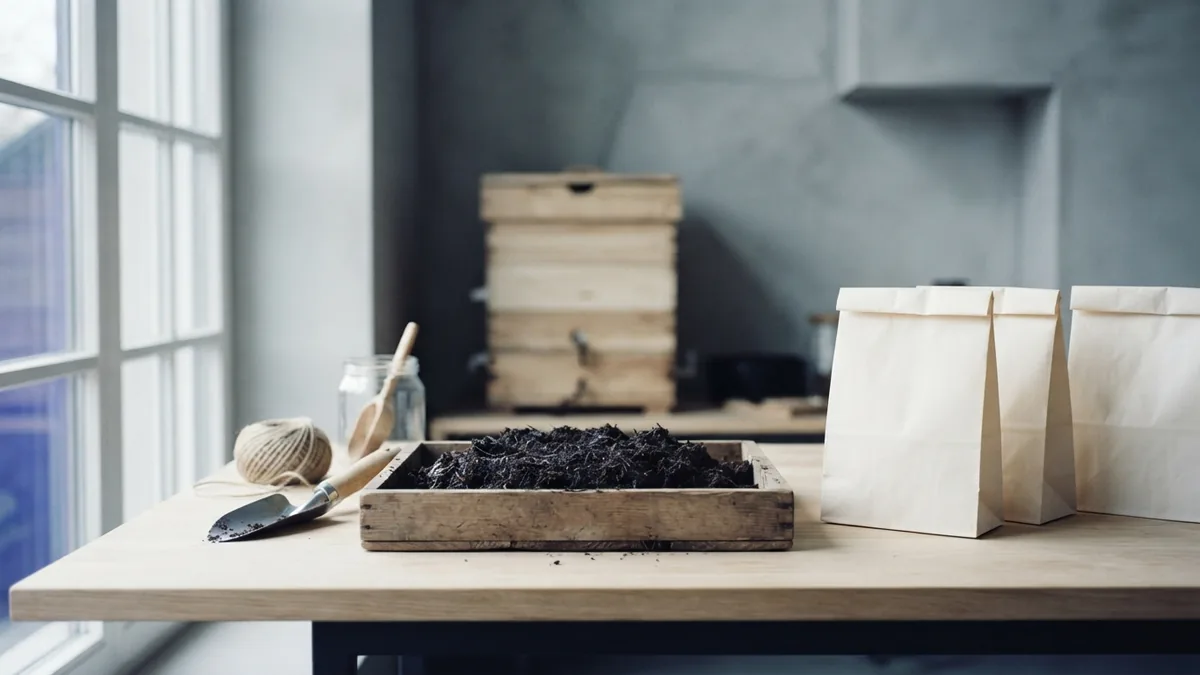
Set up space, beds, and basic tools
Choose a site with shade, good drainage, and access to water. A small pilot can fit in two or three bins, while a commercial bed needs room for feedstock, finished stock, packing, and access. Check local rules for waste handling, business permits, and product labels before accepting food scraps or selling soil products.
Use shallow, ventilated bins for a small trial, or build long beds for larger volumes. Keep them out of direct sun and heavy rain. Your core tools include a thermometer, moisture meter or hand sprayer, gloves, a scale, buckets, bedding material, and a screen for separating castings.
Begin with a modest amount of worms and feed them in one area of the bin. Add more beds only when the first bed is stable and buyers are clear. Leave space to store dry bedding and finished products away from fresh scraps.
Before launch, write a simple budget. Include bins or beds, starter worms, bedding, water, packaging, tools, and delivery. Set a weekly work schedule for feeding, checking conditions, sorting orders, and cleaning the site.
Choose worms that thrive in compost beds
Not every earthworm suits a farm bin. Composting worms live near the surface and handle dense food scraps better than deep-burrowing garden worms. Red wigglers are a common choice because they breed well and adapt to bins.
European nightcrawlers can also work in compost beds. They are larger than red wigglers and may appeal to anglers. Check that your chosen stock is suited to your climate and the product you plan to sell.
Buy from a known breeder, not from soil excavation. Ask about species, quantity, shipping conditions, and any local rules on moving live worms. Start with enough stock to seed your first bed, then expand through healthy reproduction.
Keep different species in separate beds at first. That makes it easier to track growth, feed use, and customer demand. It also helps you spot a weak batch before it affects all your stock.

Feed and care for the worms
Feed small amounts of fruit and vegetable scraps, coffee grounds, tea leaves, and crushed eggshells. Chop large pieces so they break down faster. Avoid meat, dairy, oils, salty foods, and heavily seasoned leftovers, which can smell or draw pests.
Bury each feed batch under bedding, then wait for the worms to consume it before adding more. Overfeeding is a common beginner error. Excess food can rot, heat the bed, and attract flies.
Keep bedding damp like a wrung-out sponge, not soaked. Use shredded, uncoated cardboard or dry leaves for bedding, and add water in small amounts when needed. Check the bed several times each week, especially during hot or cold spells.
For a simple care routine, record the date, food added, bed condition, and any harvest. Harvest castings only when much of the bedding has broken down. Keep worms and fresh feed out of the finished product, and allow the castings to settle before packing.
- Check moisture, smell, and temperature.
- Remove spoiled feed and add dry bedding when needed.
- Feed only what the worms can consume before the next check.
- Log growth, harvests, stock losses, and sales.
Find buyers and sell worm products
Choose buyers before you grow large volumes. Ask local garden shops, plant nurseries, allotment groups, anglers, and landscapers what they buy and in what amounts. Their answers can shape your product sizes and harvest plan.
Sell at farmers markets, garden events, or through local online listings. Use clear product details: what is in the bag, how much it weighs, how it was stored, and how customers should use it. Avoid claims that promise specific plant results.
For castings, offer a small trial bag and a larger value size. For live worms, explain packing and pickup options, especially during hot or freezing weather. Repeat buyers matter, so keep batches clean and meet the delivery time you promise.
Price each product from its real cost. Add packaging, payment fees, delivery, and labor to the cost of production. Compare nearby offers, but do not price below your costs just to win early sales.
Handle common problems before they grow
Fruit flies often follow exposed food. Bury scraps, use a tight-fitting lid with air holes, and avoid feeding more than the bed can process. Ants may arrive when the bed is too dry, so check moisture and block easy paths into the container.
Heat and cold can slow growth or kill worms. Place beds in shade, insulate them during cold snaps, and avoid sudden changes. A thermometer helps you spot a rising bed temperature before the worms crowd the edges.
A sour smell often means too much wet food or too little air. Remove rotting scraps, mix in dry bedding, and reduce feed until the bed recovers. If worms try to escape, check heat, moisture, acidity, and recent feed changes.
Profit can also fall when harvests exceed demand. Keep production small until repeat orders appear. Review sales and costs each month, then change feed volume, product mix, or sales channels based on what buyers actually take.
Step-by-step
- 01 Check space and local demand
Choose a shaded site with room for beds, feed, and packing. Ask likely buyers which products and sizes they want.
- 02 Build a small worm bed
Set up ventilated bins or a simple bed with drainage and bedding. Keep it sheltered from harsh sun and rain.
- 03 Add suitable composting worms
Start with red wigglers or European nightcrawlers from a known source. Keep species separate while you learn their growth rate.
- 04 Set a feeding and care routine
Feed small amounts of suitable scraps and cover them with bedding. Check moisture, smell, and temperature several times each week.
- 05 Harvest, price, and sell
Harvest castings when the bedding has broken down, while keeping worms out of the product. Price for materials, labor, packing, and delivery.
Frequently asked questions
- How do I start a worm farm business at home?
- Start with a shaded space, a few bins or beds, and composting worms. Test your care routine and find buyers before expanding.
- Can a worm farm business make money?
- It can earn revenue from worms, castings, and finished compost. Profit depends on steady buyers and costs such as packing, labor, and delivery.
- What worms are best for a composting business?
- Red wigglers are widely used in compost beds. European nightcrawlers can also suit composting and may appeal to anglers.
- What can I sell from a worm farm?
- You can sell live worms, screened castings, and finished compost blends. Choose products that local gardeners or anglers already want.
- How do I stop pests in a worm farm?
- Bury food scraps, avoid overfeeding, and keep the bed damp but not wet. Add dry bedding when scraps smell sour or attract flies.
Related reading

Consulting Jobs — Roles, Skills, and How to Get Started
See what consultants do, which skills matter, and how to enter the field.

Build Stronger Business Relationships Through Networking
Make business networking more useful, natural, and lasting.

What CRM Means for Business, Sales, and Marketing
See how CRM tools bring customer details and team work together.